The origins of Halloween
The word Halloween comes from the contraction of the English phrase “All Hallows Eve”, meaning
the eve of All Saints’ Day. The original article links this date in Celtic Ireland to the end of summer and describes the traditional colours as
orange, representing the harvest and the end of summer, and black, symbolising the darkness
of the coming winter.
According to legend, the wandering spirits of those who had died during the year returned on the night of October 31 in search of a body to possess in the coming year.
In this story, the villagers did not want to be possessed, so they made their homes cold and unwelcoming by putting out the fireplace fires,
dressing as monsters and roaming between houses to frighten away the spirits they encountered.
To organise a memorable Halloween party, start by creating the right atmosphere.
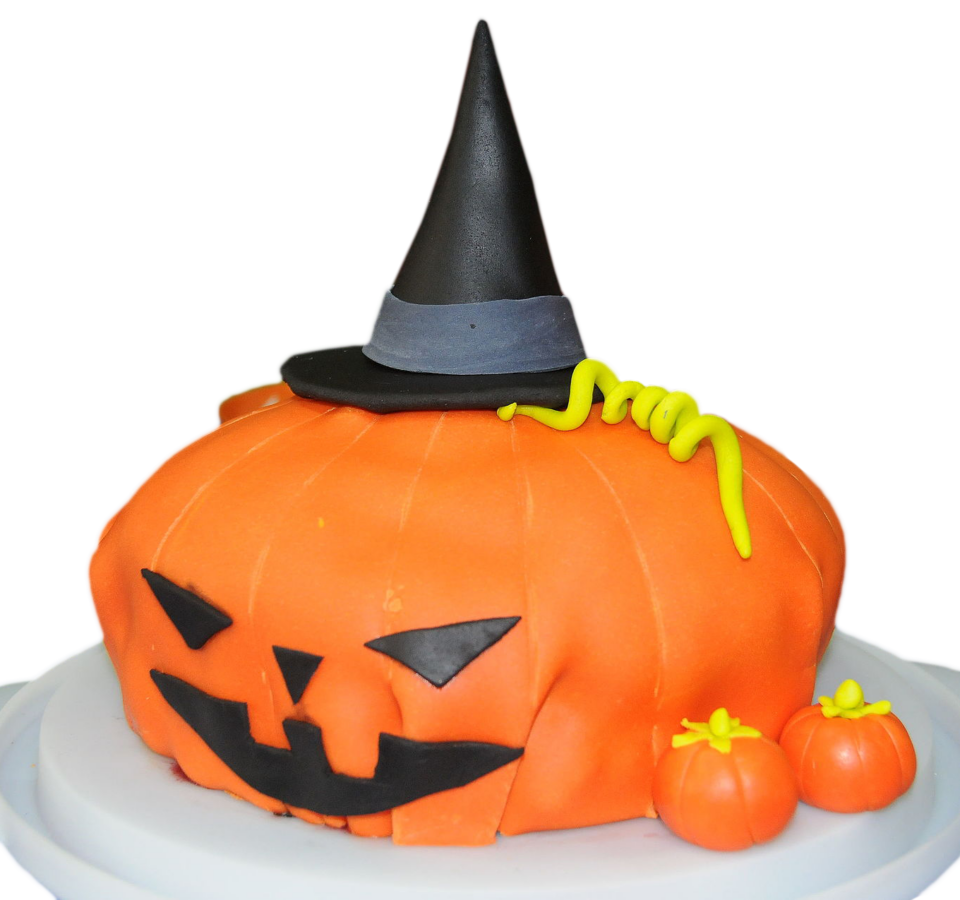
What better centrepiece than a fun Halloween cake decorated with fondant?
A Halloween cake covered in fondant
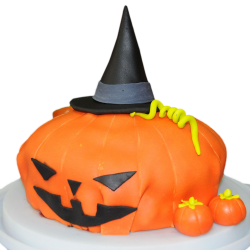
First, prepare the base of the cake. You can
use sponge cake; the original article mentions a sponge cake recipe to be published later.
For convenience, this tutorial uses the ready-made sponge cake linked in the original article.
The original article states that the store’s sponge cake is freshly prepared before dispatch.
Here is what you need to make the Halloween cake.
Tools and ingredients
- Orange, black and white fondant
- Fondant smoother
- Rolling pin for rolling out fondant
- Ready-made sponge cake
- Ball-ended fondant modelling tools
- Cream filling for the cake
- Non-alcoholic cake-soaking liquid
- Piping bag
Preparing the cake base
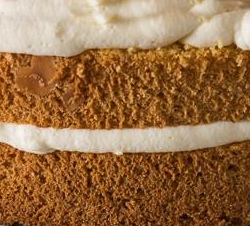
Slice the sponge cake into layers with a long-bladed knife, then cut circles of different diameters to create the rounded shape of a
pumpkin. You can place two larger circles in the middle and smaller, thinner ones at the top and bottom. The diameters only need to differ by 2 or 3 cm.
Moisten the sponge circles with the non-alcoholic soaking liquid to make them softer.
Use a piping bag to spread the filling evenly between the sponge layers.
Crumb coating
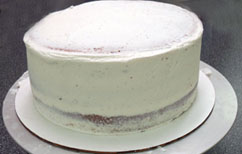 For a smooth fondant covering, first apply a crumb coat:
this evens out imperfections and traps the crumbs, while retaining the flavour and moisture from the sponge cake filling.
To help the fondant adhere to the cake, the original tutorial uses a layer such as chocolate ganache, buttercream or whipped cream.
Using a spatula, spread buttercream or your chosen coating over the cake. Once the butter has firmed up, you can apply a second coat.
Covering the cake with fondant
Use a rolling pin to roll the orange fondant into a circle large enough to cover the whole cake.
Lay the rolled fondant over the cake. The sheet should be slightly larger than the cake; trim the excess with a knife.
The extra fondant around the bottom lets you create folds at the base of the cake.
Use the ball tool to press vertical grooves into the fondant and reproduce the lines of a pumpkin.
 Roll out the black fondant into a thin square, then cut out the pumpkin’s eyes, nose and mouth.
With more black fondant, make a cone and a circle for the witch’s hat. To make the
grey trim, mix a little white fondant into a piece of black fondant to obtain
grey. Add a curled strand of yellow fondant to finish the Halloween cake.
This simple tutorial creates an eye-catching cake. The original recipe deliberately gives no fondant quantities because the amount
needed depends on the size of the cake you want to make.